


Learn how to choose, use and look after your watercolour painting equipment plus simple exercises showing various watercolour techniques to help you get started.
'For beginners to painting, it is often difficult to judge which painting medium to choose – which one will be the most straightforward to use and help you build up the necessary confidence and skills,' says Robin Capon.
'Should you start with watercolour, oils, acrylics, or perhaps pastels?
'Of course, every medium has its strengths and limitations. But in my view, for anyone interested in painting and wondering how to get started, there is no better medium than watercolour.
'True, it is not the most forgiving medium in some respects; you have to accept that mistakes aren’t easy to rectify. However, the advantages more than compensate for this.'
Top features of watercolour:
- The colours are easy to mix and apply.
- You can build up effects quickly – without too much delay while the paint dries.
- Watercolour painting requires very little in the way of essential equipment.
What is watercolour?
Watercolour, as the name implies, is a water-soluble type of paint, which means that the colours are mixed with water to create different strengths of colour and paint consistency.
In one form or another, watercolour has been used since the Middle Ages. However, it wasn’t until the early 19th century that it became established as a method of painting in its own right and with its own techniques. The formulation and production methods used for watercolour have changed very little since then.
The paints are made from finely ground pigments dispersed evenly in a gum arabic solution or similar water-soluble gum binder.
Originally, a small amount of honey or sugar was added to the paint to improve its solubility, but now glycerine is used instead.
Some manufacturers also add ox gall or a similar wetting agent to enhance the paint flow.
What grade of watercolour paints should I choose?
Artist vs Student quality
Two grades of watercolour paints are available, artist and student. The main difference are as follows:
- Artist quality paints are the more expensive, because they are made with a higher proportion of good quality pigments, resulting in stronger and more luminous colours.
- In Students colours, the expensive pigments, such as the cadmiums, are often substituted by cheaper alternatives, denoted by the word ‘hue’ on the label. Nevertheless, Students’ colours are perfectly reliable and are a good choice to begin with.
Pans or tubes - which watercolours are best?
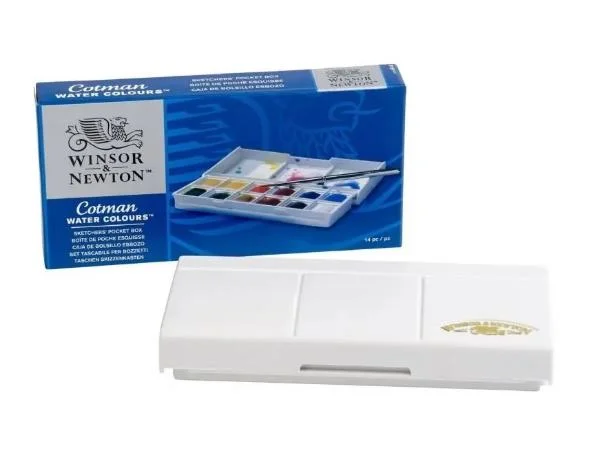
The Winsor & Newton Cotman Watercolour Sketchers' Pocket Box includes 12 assorted half pan colours, a pocket brush and an integral mixing palette
- Watercolours are sold in tubes of various sizes and in compressed blocks of colour called pans.
- Generally, those artists who like to work with broad washes of colour prefer tube paints, while those, such as flower painters, who rely on a more controlled approach, choose pan colours.
- You can buy both tubes and pans separately and fit them into your own watercolour box.
- Pans are available in small square-shaped blocks (half-pans) or oblong blocks (whole pans).
- Tubes are available in sizes from 5ml to 20ml or larger.
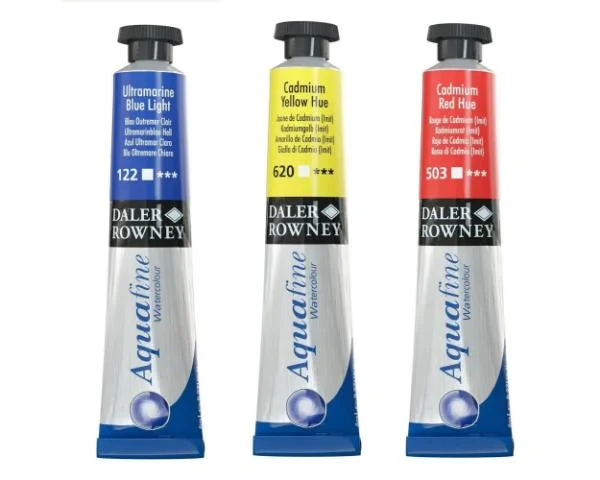
The Daler-Rowney Aquafine are just one example of watercolour tubes
What do I need to get started in watercolour painting?
- Three 8ml tubes of Student quality colours: a red, blue and yellow. Look for cadmium red hue, cobalt blue hue and cadmium yellow pale hue.
- A round synthetic-hair watercolour brush. Start with a No. 12 and look for a brush that has a good pointed tip to the hairs and thus will give fine lines and marks as well as broad washes.
- Paper. Choose a watercolour pad, such as an A4 spiral-bound 140lb (300gsm) Not surface Bockingford padAlternatively, buy a large sheet of watercolour paper, 22x30in. (56x76cm) and cut this into small sheets.
Other necessary equipment includes:
- A water pot – a jam jar is ideal.
- An old white china plate or saucer to use as a palette, on which to mix your colours.
- Some kitchen roll to clean the brush and palette.
CLICK HERE FOR REVIEWS OF WATERCOLOUR PAINTS, BRUSHES AND PAPERS
Making a start - watercolour painting techniques
Watercolour works best if the approach is kept simple.
The basic technique relies on applying thin washes of colour, one over another, to build up variations of tone and colour.
For the light areas, whites and highlights, the paper is left untinted, something that is known as reserving the lights.
Some artists like to start with a faint pencil drawing to plot the main shapes of the composition. Others prefer to work directly in colour. But whichever approach you adopt, it does need some forethought and planning, because it is seldom easy to go back and change things in watercolour.
Watercolour suits most types of subject matter, especially landscapes (including buildings and townscapes) and flower studies. It is perfect for capturing mood and atmosphere, and because of this, and the fact that the necessary equipment is small and lightweight, it is often used for painting landscapes on the spot.
Ready to get started?
Order your watercolours at Art Supplies with Painters Online
Start your watercolour journey by…
- Checking you have the essential materials.
- Working with a single colour and testing out different tints and tones. (See Exercise1 below)
- Making a colour wheel. (See Exercise 2 below)
- Trying a simple line and wash sketch. (See Exercise 3 below)
- Trying a simple landscape painting. (See Exercise 4 below)
Exercises to get you started in watercolour painting
Exercise 1

You will find that each of your colours (red, yellow, blue) has a relative strength (tone and intensity) depending on how much water is added to the mix.
Start with a relatively strong colour (top), by mixing some colour with just a little water.
Then, gradually add more water to create successively lighter tones (middle), and then less water again to make successively darker tones (bottom).

The essence of watercolour painting is that you start with the lightest tones and, where appropriate, work over these with further washes of colour to build up the darker tones.
First, mix a generous amount of weak colour (a colour wash). Lightly draw a simple box shape and paint it all over with a single weak wash of colour (a).
Next, when the first wash has dried, apply a second layer over two sides of the box (b).
Finally, apply a third layer over the end of the box (c).
Now you can see how successive layers of wash, applied in this way, will give different effects of light and dark, and so create the impression of three-dimensional form
Exercise 2

Make a colour wheel like this one, to help you understand colour relationships and what happens when you mix different colours together.
Make your colour wheel about 6in. (15cm) in diameter and divide it into 12 equal segments.
Start with the three primary colours (red, yellow and blue), which should be positioned at intervals of one-third around the wheel. Then put in the three secondary colours – each of which is half way between two of the primaries and an equal mixture of those two.
The remaining squares should be filled with colours, which are a mixture of the adjacent primary and secondary colours – for example, yellow and green (giving a yellow/green colour) and yellow and orange (yellow/orange).
Exercise 3

A good introduction to watercolour painting is to start with some line and wash sketches, like the one shown here.
Make a pencil drawing, to give you the basic shapes and tones, and then add some watercolour washes.
Exercise 4

Now try a simple landscape painting like this.
You could copy this example or find a similar one in a book or photograph.
Mix the blue and yellow together to give you different greens. For brown, start with orange (yellow + a little red) and then add a touch of blue.
Continue your watercolour journey with Stephen Coates by
Comments
Login or register to add a comment
No comments