



Portrait of Clemency Stimfig, oil on linen, 25¼x19¾in (64x50cm).
Kathy Barker shares her top tips for painting mouths in oil
John Singer Sargent (1856–1925) famously defined a portrait as ‘A likeness in which there is something wrong about the mouth.’ The mouth is probably one of the most expressive features of the face. Lips can be one of the most challenging features because the mouth is a little more complex in structure and it’s easy to make lips too harsh or to suggest the wrong expression.
Materials
Prepare a toned canvas by scrubbing on a mixture of black and yellow ochre with turps and wipe back with a rag.
Sable filbert brushes in sizes: 10, 8, 6, 4, 2, 1 and a 0 for highlights. You can use flats if you prefer, and sketch out with bristle brushes.
If you want a smoother brushstroke, to blend or to refine, use the sables with some medium – such as Michael Harding Oleo resin or some linseed oil.
I used an earth palette of oil colours: titanium white, yellow ochre, light red, cadmium red light, Venetian red, ivory black. Raw umber and burnt umber are useful additions.
Position
Set up your model with a directional light source so that there is a shadow side of the face if possible.

Lip colours and shapes
- Using a reddish-brown, keeping it thin with a little turps and paint/draw the shape of your top lip. Alternatively, you can begin with the line produced from the meeting of top and bottom lip.
- Make sure you judge the distance to the base of the nose either visually or by comparative measurement.
- Top lips are usually a little darker than the bottom lip, which initially is just defined by the shadow running beneath the bottom lip.
- The top lip can be filled in with the brush whilst drawing. There are no drawn outside edges.
- The margin of the upper and lower lips is known as the vermilion border. In fact, when you study the outer edging of the lips, it’s lighter in value and contrasts with the lighter skin tone.
- The darkest line will be where the lips meet, which can be accentuated at some later point.

Example of plumb lips. A very wide range of colours are achievable with a limited earth palette.

Soft lipstick lips detail. I used the same basic palette with a little permanent rose.

Thin top lip

Pouty lips
Getting the lip details right
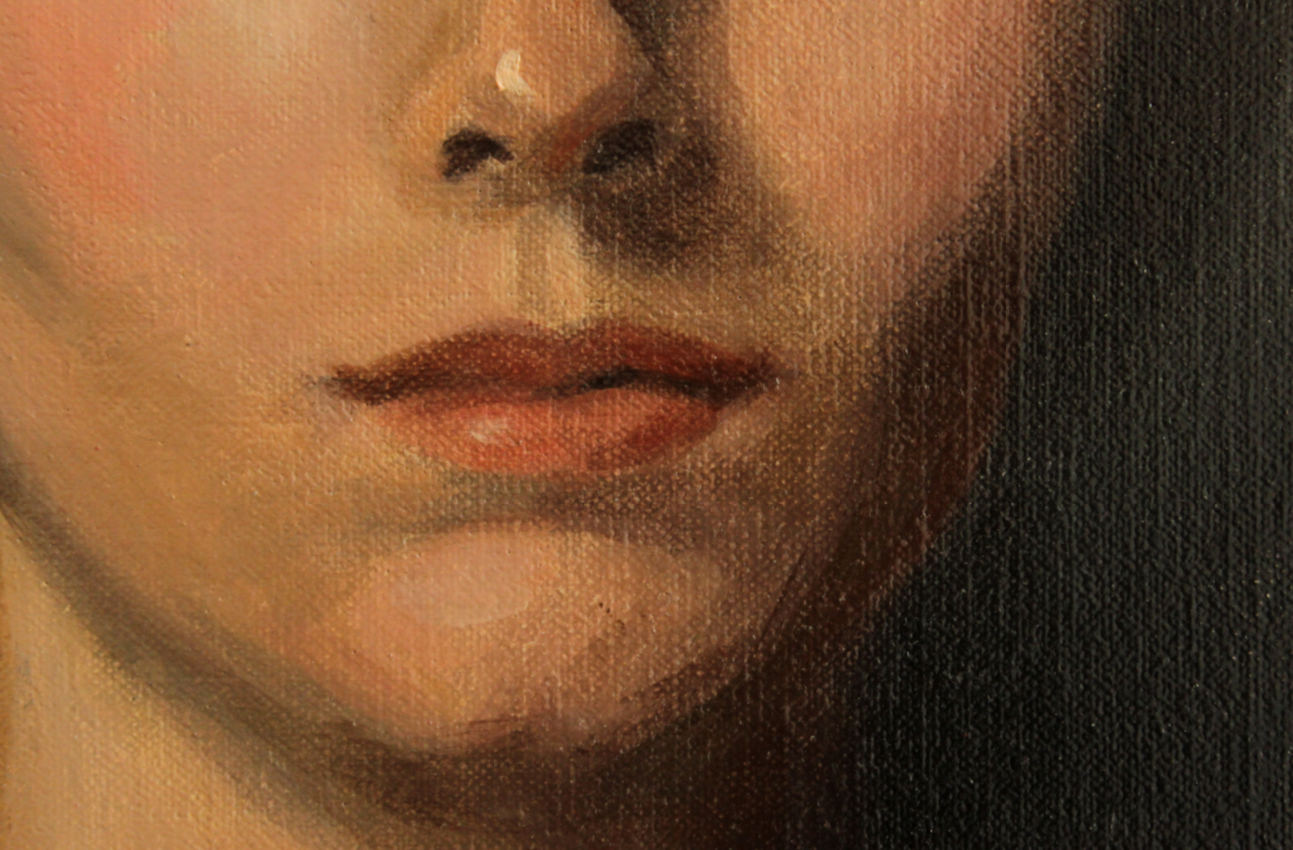
Front-on lips width goes beyond the wings of the nose. Beginners tend to make the mouth far too narrow in width.
Width - When you look at a mouth front-on, the mouth is generally wider than you might think, being more or less in line with the central part of the eyes or iris. Another gauge is to observe that lips go beyond the width of the wings of a nose (below).
Cupid's bow - Note the shape of the cupid’s bow of the top lip: think of the top lip as two mountain peaks – are the peaks close together or far apart? The bow will vary depending on the form of, and the expression on, the lips.
Tubercle - These peaks lead down to what is called the tubercle (or procheilon) of the upper lip, the fleshy triangular projection in the centre of the top lip.
Philtrum - Above the tubercle lies the indentation or philtrum that runs up vertically from the top lip to the base of the nose. There is usually a slightly darker tone between the ridges.
General shape - Check your shapes, are the lips thin or plump and bee-stung? Is the cupid’s bow correct?
Procheilon - Apart from the expression of the lips, the procheilon or central fleshy bit of upper lip affects any angles that you see where the two lips meet. Your drawing does not have to be perfect at this stage as you can make corrections as you paint but it does help to have the basic structure as right as you can.
Around the lips - As you paint you naturally address the surrounding areas of skin so that the lips make sense. This also enables you to modify your shapes as you can correct lip shapes with skin tones made from the same colour palette.
Outer lips - Try to keep the outer lip edges soft. Blend them with your little finger or use a wide flat brush to soften, fanning it across the surface, wiping excess paint off on a rag between each stroke. There will sometimes be a highlight on the bottom lip. It is easier for you to see if you ask your sitter to lick their lips.
If you're new to oils, don't stop here! Explore our other beginner-friendly guides to learn all you need to progress and develop your oil skills.
Keep the corners of the mouth soft. The outer edges of the lips lead to, and sit in, a small area of darker tone where there is a little dip or indentation, which you can see on both the light and shadow side of the mouth.

This mouth is on a three-quarter angle, so one side of the mouth is wider than the other.

The top lip and corners of the mouth have been defined, leaving the teeth blank for the moment. Note how the bottom lip is easily described by the tone running underneath.

By defining the tone under the bottom lip you define the form of the lip itself, so it makes sense to establish the mound of the chin or the philtrum as it helps you to see if you have placed your lips correctly.

The teeth are only slightly painted and no pure white has been used. The stronger the contrast in tonal value, the more it leads the eye to it and one often does not want the teeth to be the first thing you look at in a portrait. Good colour mixes can be made from white and raw umber, warmed if necessary with a little yellow ochre or cooled by adding more grey.
Teeth
A set of full teeth can be quite tricky to do and full smiles, showing every tooth, are not often seen in portrait painting. Historically most portraits were done from life and it is rather a hard task to demand your sitter to continue to smile for several hours at a time, not to mention several sittings. Today we have modern technology and can work from photographs. One danger, however, is that painting someone smiling broadly in a portrait can take on a snap-shot-like quality so you have to be a little careful.
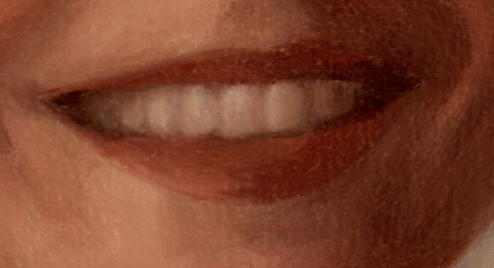
In a full smile, contrary to what you might think, the corners of the mouth usually turn down as the lips follow the maxilla bone of the skull.
Note that teeth are rarely white in colour, except for the occasional highlight. Just as if you were painting a white cup and saucer, for instance, when studied, there is very little pure white except for those little glinting highlights.
Top Tip keep edges of teeth soft and with very soft demarcations of individual teeth, otherwise the viewer’s eye is drawn straight to the teeth rather than the whole image, especially if the light and dark values are very contrasting with lots of hard edges.
Kathy Barker studied fine art painting at Wimbledon School of Art and portraiture at Charles Cecil Studio, Florence. Kathy tutored for several years at West Dean College and currently teaches at the Roehampton Club, London, and holds a weekly portrait class at her studio in Fulham. She has exhibited with the Royal Society of Portrait Painters and exhibits annually with the Society of Women Artists, of which she is an associate member.

Comments
Login or register to add a comment
No comments